My No-Fuss Sourdough Method (For Busy People!)
Today I’m sharing exactly how I make sourdough bread without all the fuss.
There’s so much online that makes sourdough feel intimidating—perfect crumb shots, long terminology, gadgets galore. That’s great if you love geeking out over bread science, but if you’re like me—working full-time and juggling two kids under two—you just want to get wholesome bread on the table a few times a week. This post is for you.
PREFER TO WATCH? Video that inspired this blog post is below. Don’t forget to subscribe.
This blog contains affiliate links. As an Amazon Associate and affiliate, I will make a small commission on purchases made from links in this blog.
Why My Method Works
I keep it simple:
No weighing or obsessing over hydration percentages.
No special equipment you’ll use once and then stuff in a drawer.
Everything can be done around naps, work calls, and dinner time.
The result? Soft, tasty sourdough your family will actually eat—without the stress.
Starting With the Starter
I keep my starter in the same jar most of the time and refresh it daily (or whenever I remember). Every couple of weeks I’ll switch containers to keep things from getting crusty.
If you’re brand new, honestly, I recommend buying a healthy starter from a neighbor, a local bakery, or even Facebook Marketplace. It jump-starts your sourdough journey without waiting three or four weeks for your own to mature. (Been there. I once accidentally baked my own starter in the oven—RIP.) If you can’t find anything local, you could go online and buy something like this to get started instead.
Of course, you can also start your own. I did that my first time too. It worked out great, but took weeks and I ended up killing it anyways in the aforementioned oven incident. I sucked up my pride the second time and just bought it from a local mom and was off running again in no time.
Pro tip: every so often, let a bit of starter dry on parchment. Once it’s completely dry, crumble and store it in a zip bag. Instant backup in case of disaster.
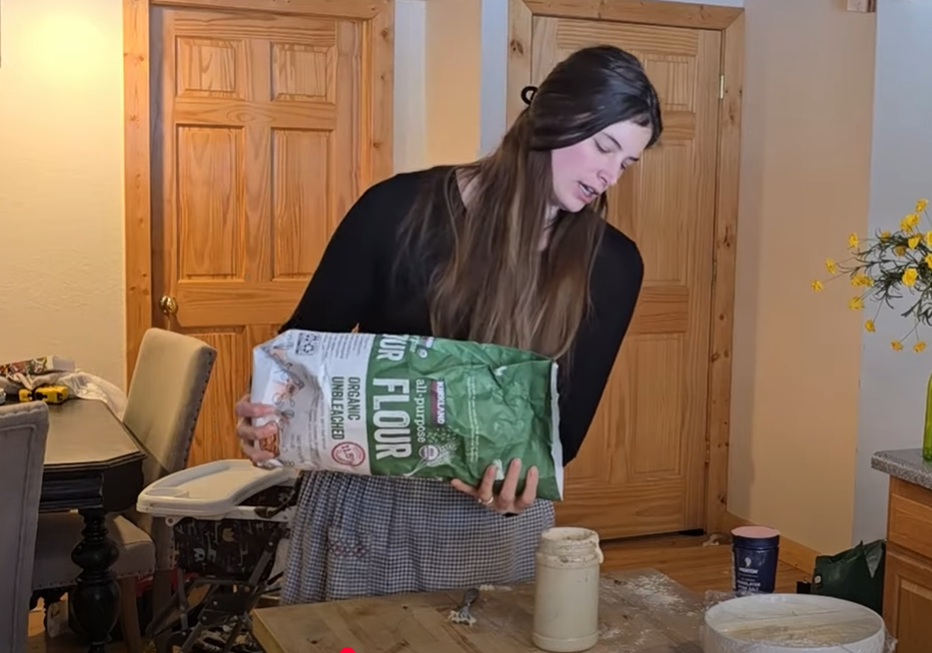
Mixing the Dough (No Measuring!)
Here’s how I mix for one loaf:
Scoop about 1½ cups of bubbly fed starter into a bowl.
Add water straight from the tap until it looks like a thin slurry.
Stir in flour until you’ve got a still slightly wet, shaggy dough, roughly 4 cups.
Add salt right away—yes, you can “autolyse” later, but I know I’ll forget, so I toss it all in at once.
I use a fork at first, then switch to one hand (rings off!) to mix until no dry spots remain. This prevents clumps during rising.
Hear me out, this sounds counterintuitive to this entire post, but you may actually want to follow an actual recipe once or twice before you try this. When you’ve made a few recipes and understand what the bread should look like and feel like, you will be so much more successful without measuring. But if you love learning by trial and error, this is for you. Watch the video above to see what my dough looks like at each step.
Stretch and Folds
Cover the bowl with plastic wrap and let it sit 15 minutes. Do your first stretch and fold: pull the dough up and fold it over itself four times. Let it rest 15–20 minutes. Repeat once or twice. Each fold develops more gluten and structure.
If life happens and you can’t shape the dough on time, stick it in the fridge. Cold slows fermentation so you won’t over-proof.
And sometimes, gasp, I don’t do any stretch and folds (or only 1 or 2) if life gets away from me. I don’t stress, because it usually turns out just fine!
Shaping Without Fancy Gear
I keep shaping simple—no fancy bannetons. I just:
Roll the dough one way, then the other.
Twist it so the bottom comes together into a circle.
Line the same bowl I mixed in with a clean cloth and plop the dough back in.
Into the fridge it goes. You can cold-proof up to 72 hours. The longer it sits, the tangier the bread.
I personally don’t use or recommend bannetons, especially if you’re new. Figure out if you like making bread before you invest in a banneton. Even if you use an exact recipe, I recommend buying as little supplies as you can, because you can probably substitute something you already own at home.
The only supplies I recommend (but I don’t think are 100% necessary are):
A metal bench scraper — this is so helpful to get dough off the counter after shaping and I love it to clean. Even my husband gives it his seal of approval.
A Dutch Oven — If you don’t have the money for a dutch oven, don’t worry. You can also learn to open bake. This is baking using a baking sheet and a typically a steam source below (like a pot with water beneath). It is more of a learning curve, but I promise sourdough is attainable at any income level.
As mentioned, I use a bowl and a clean dish towel (preferably cotton or linen) to put my shaped dough in. I will fold the towel around the dough to keep it moist. While it is proofing, I use a damp towel or saran wrap to cover it. You can buy resuable bowl covers, but I find it you’re wanting to be sustainable, a damp towel works just fine. If you plan on fermenting on the counter over night and have a dry home, it could be worth the investment in case the towel dries overnight.
I do like my bread lame and if you end up making a lot of bread it can be worth the purchase, but in the beginning a sharp knife is going to work just fine. A bread lame can be nice for sourdough boules if you want to get into fancy designs and get deep cuts.
Baking Day
Next morning:
Preheat oven to 450°F with your Dutch oven inside.
Place a baking sheet in the rack under the Dutch oven to prevent burnt bottoms.
Tip the dough onto parchment, score it with a deep cut along the middle.
Bake covered 35 minutes, then uncover and bake another 10–15 minutes until crusty.
Let it cool at least 2 hours before slicing.
The Reveal
When you cut in, don’t stress about the “perfect” crumb. Ask yourself:
Does it taste good?
Does my family eat it?
Does it nourish us?
If yes, you’ve succeeded. My loaves aren’t showpieces, but they’re loved, and that’s what matters.
Final Thoughts
Sourdough truly doesn’t have to be complicated. With a strong starter and a little routine, you can bake bread for your family multiple times a week—no special skills required.
If you try this method, drop a comment with your favorite tip or your own no-fuss sourdough trick. And if you liked this post, share it or subscribe to The Work From Homesteader for more simple, real-life recipes.
Happy baking!